- File Modification Tools
- Desktop Applications
- Unpack a ZIP File Into a Separate Folder Before Using It
Unpack a ZIP File Into a Separate Folder Before Using It
Extract an expected ZIP into a separate folder, preserve nested paths and existing work, and check the files before editing or replacing anything.

Oerts Núñez
Contributor profile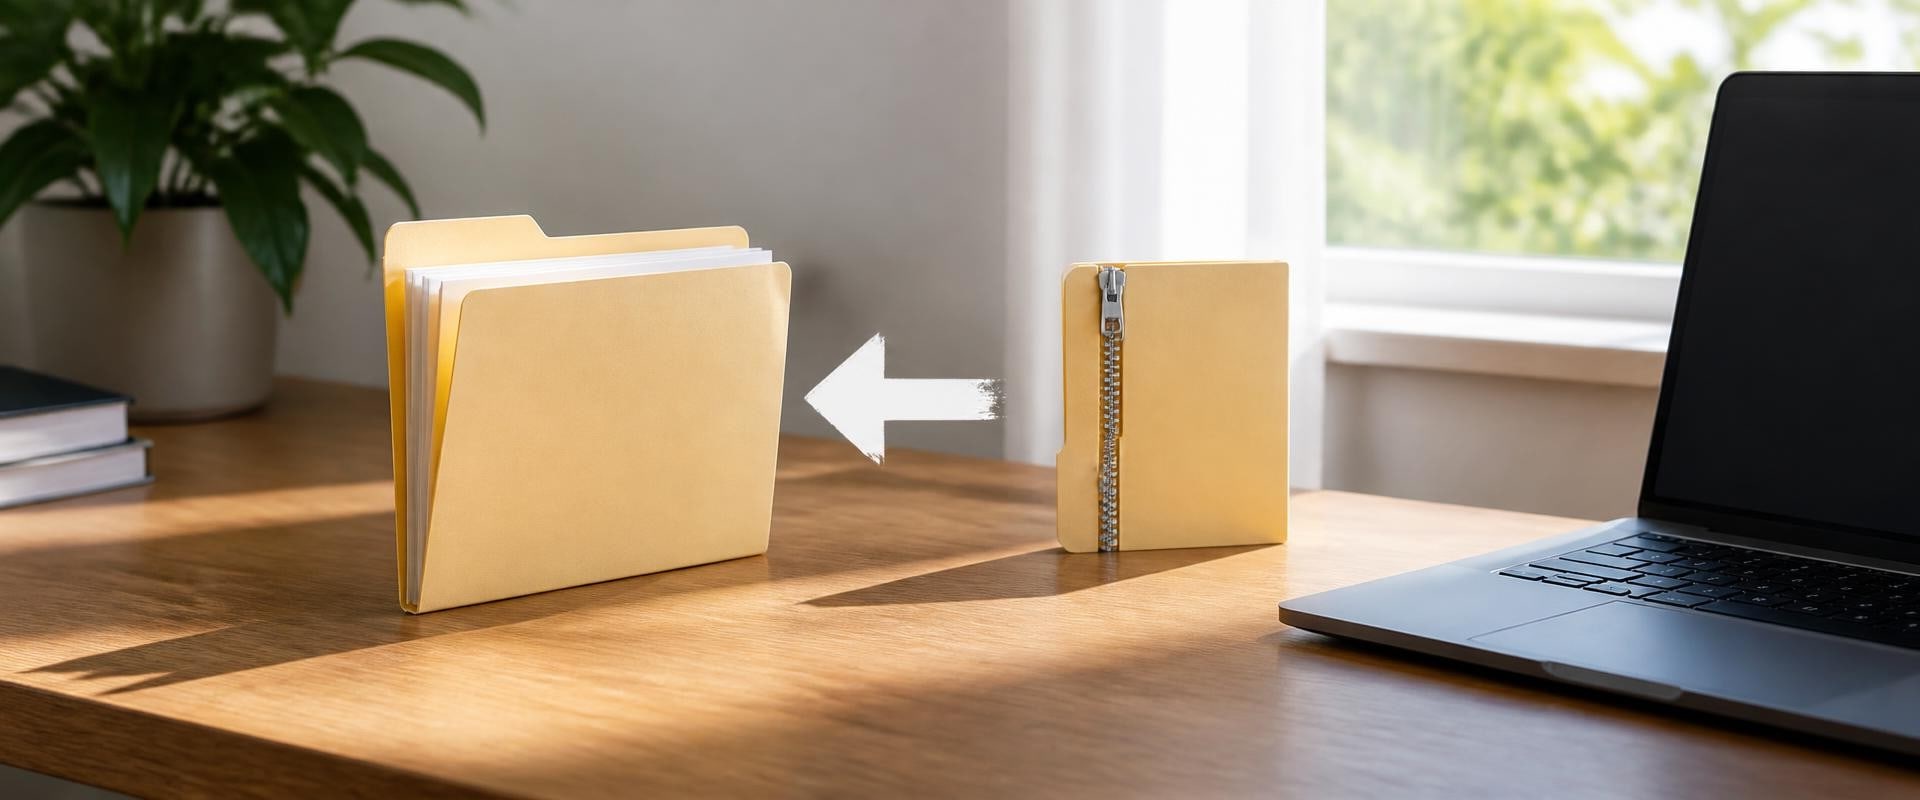
A ZIP package can contain a folder inside another folder, several files with the same name in different locations, or loose files at its top level. Extracting it straight into your current project makes those details harder to untangle. Prepare a separate location, check the result, and decide what to use afterward.
This workflow is for an expected archive from a source you trust. A familiar filename, successful extraction, or matching file count does not establish safety. Stop if the archive is untrusted, contains an unexpected executable, or triggers a security warning. Verify the package with its sender or your support team before continuing.
Know what should be inside
Read the accompanying message or packing list before extracting. Record the archive's name, intended project, expected file types, and any stated folder structure. If someone promised four documents but you received an unexplained package, ask what it contains rather than guessing.
With Windows' built-in ZIP handling, you can open the compressed folder in File Explorer to inspect its listing without launching the individual files. Look through its folders and compare their names with the expected contents. On a Mac, double-clicking a ZIP normally starts expansion, so confirm what you expect first and inspect the resulting listing before opening its documents.
Keep the received ZIP unchanged. Leave your existing project files where they are. An extraction check should not also become a cleanup, renaming, or replacement exercise.
Create a new destination you can recognize
Make a new, empty review folder outside the working project. Use a name such as Cedar-kit-check-01 under a Received folder. Check its full location and confirm that it contains no earlier extraction or working files.
On Windows, right-click the ZIP and choose Extract All. In the extraction dialog, select your new review folder as the destination and check the displayed path before starting. Do not simply accept a suggested location because its final folder name looks familiar.
Apple's built-in Mac workflow expands a ZIP beside the archive. Copy the ZIP into your new review folder first, keeping the received original in its existing location. Confirm that the review folder contains only that archive copy, then double-click it. Inspect where the extracted item actually appears, especially if your computer uses a different archive application.
Follow a nested-folder example
Imagine a fictional Cedar-kit.zip supplied for a small exhibition. The sender's list describes four content files. Inside the archive, all four sit beneath a Cedar-kit folder:
- Cedar-kit/readme.txt: the package instructions.
- Cedar-kit/Print/labels.pdf: labels arranged for printing.
- Cedar-kit/Screen/labels.pdf: labels arranged for a screen.
- Cedar-kit/Images/map.png: the exhibition map.
Here, slashes describe successive folders, not text to type into a filename. Under the review folder, follow Cedar-kit, then Print, to reach the print labels. Follow Cedar-kit, then Screen, to reach the other labels.pdf. The matching filenames are intentional because their containing folders distinguish their roles.
Your working project already has a Print folder and its own labels.pdf. Neither should change during this check. Do not drag all extracted files into one flat folder: that would discard the useful folder distinctions and create a same-name conflict.
An extractor may introduce an additional outer folder. If Cedar-kit appears twice along a path, inspect the levels before moving anything. A repeated folder label alone does not mean that two copies of every document exist.
Treat a replacement prompt as a reason to stop
If extraction asks to replace or merge existing items, cancel rather than choosing an answer for the whole package. Recheck the destination and archive listing. You may have selected a populated folder, repeated an earlier extraction, or encountered conflicting archive entries.
After understanding the problem, use another new folder for a fresh attempt if appropriate. If extraction reports an error, regard the output as incomplete until checked. Do not combine partial results from several attempts and assume the collection is complete. Ask the sender for a corrected archive when the package itself appears faulty.
Check paths and files before editing
For the fictional package, check all four content files against the list. Count files within the nested folders, excluding the ZIP copy and the folders themselves. A top-level view showing only Cedar-kit tells you little about what is inside it.
Verify each file's location and purpose as well as the count. Four files in the wrong folders would still fail this check. Open each expected document or image in an appropriate local application and confirm that it is readable and matches its stated role. Keep normal security protections in place.
Close the archive view and navigate to the extracted folder again. Open the files from there, checking the location rather than relying on a recent-files shortcut. Work from these extracted files, not from documents launched inside the compressed archive.
Record the reviewed folder and any missing or unreadable items. Keep the received ZIP and existing working project while you resolve problems. Once the package passes, choose the extracted copy you will work on deliberately, leaving any decision to replace older project files as a separate step.